


Renogy Rover 30A 12V/24V MPPT Solar Charge Controller LCD Regulator w/Bluetooth
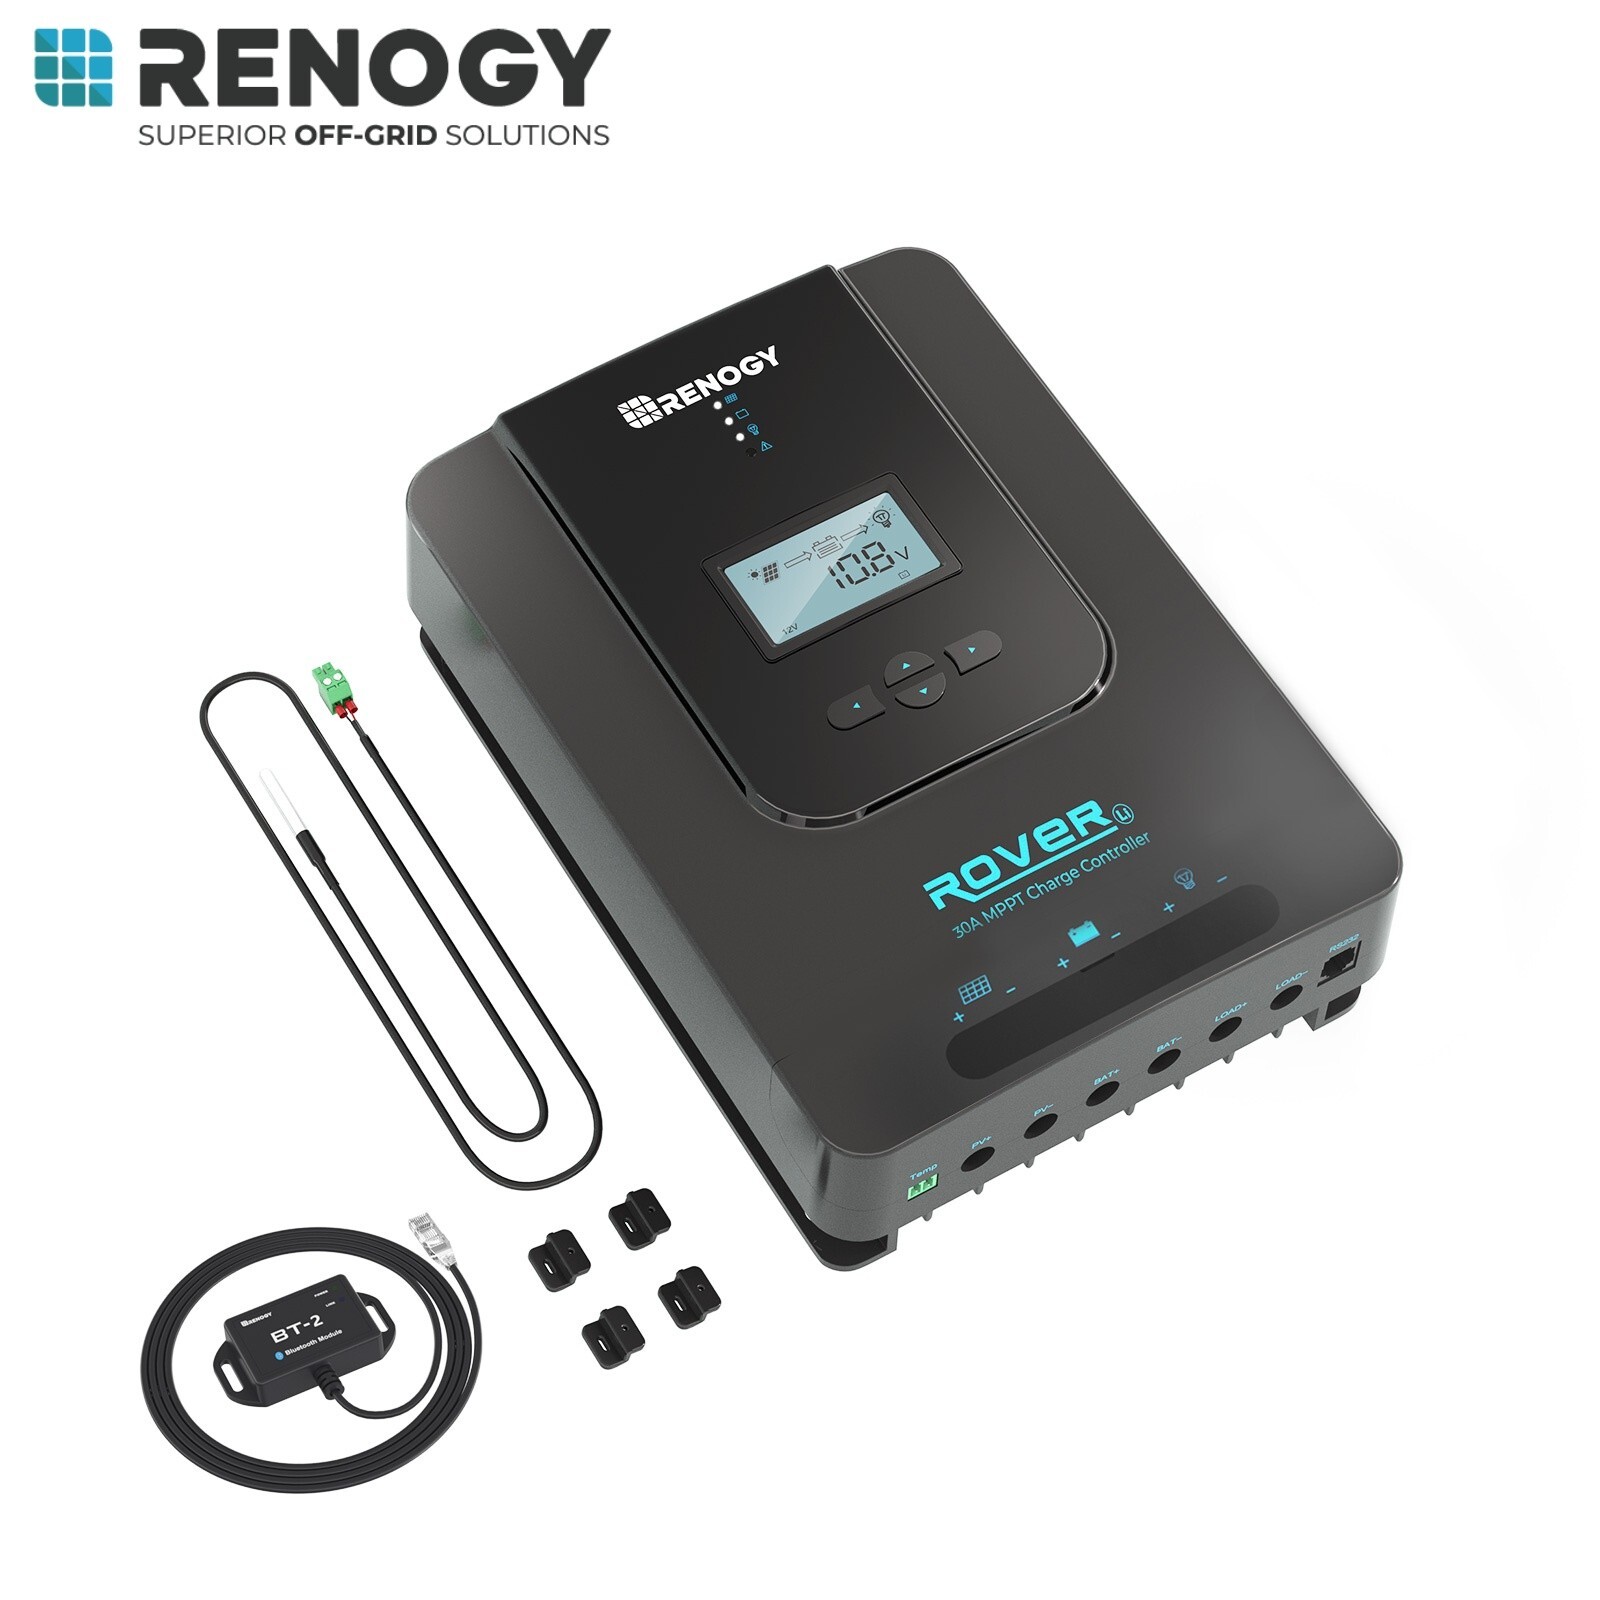
What's in the box Wiring Steps Do not insert the wires into the space below the socket/hatch, which will damage terminals because of loose connections. Step 1. Loosen the screws above the terminals to make the socket/hatch descend. Step 2. Insert the wires into the socket/hatch. The terminals on the Rover 30A can accept up to 8AWG of wires. Step 3. Tighten the screws to elevate the socket/hatch to complete the wiring.
Specifications
| Return Shipping Will Be Paid By | Buyer |
| All Returns Accepted | Returns Accepted |
| Item Must Be Returned Within | 30 Days |
| Refund Will Be Given As | Money Back |
| Protection Level | IP32 |
| Current Output | 30A |
| System Configuration | Off-Grid |
| Power Source | Solar |
| Ground Type | Negative |
| MPN | RNG-CTRL-RVR30-BT-US |
| Operating / Storage Humidity | ≤ 90%, No Condensation |
| Temperature Compensation | -3mV/°C/2V |
| Features | Bluetooth Module |
| Max Battery Voltage | 32V |
| Max. Terminals Size | 8 AWG 10mm2 |
| Protection Properties | Overcharge Protection |
| Maximum Input Power | 12V/400W, 24V/800W |
| Maximum Input Voltage | 95 VDC |
| Current Rating | 30A |
| Weight | 4.4 lbs / 2.0 kg |
| Brand | Renogy |
| Type | Solar Charge Controller |
| Model | MPPT |
| Recommended Environment | Outdoor |
| Power Consumption | <100mA/12V; <58mA/24V |
| Application | Back-up Power |
| Product Line | Renogy Rover |
What's in the box Wiring Steps Do not insert the wires into the space below the socket/hatch, which will damage terminals because of loose connections. Step 1. Loosen the screws above the terminals to make the socket/hatch descend. Step 2. Insert the wires into the socket/hatch. The terminals on the Rover 30A can accept up to 8AWG of wires. Step 3. Tighten the screws to elevate the socket/hatch to complete the wiring.
Related Items